
STEP 1
Learn organizations
Thanks to the use of organizations in Github you will have several advantages:
Import it
By registering on Github you can be part of a huge community of developers. Take advantage of all the potentials of Jorigamy and Github with an organization.
Sign Up1 - Custom domain
By using this option to use Jorigamy, you can choose a custom name for your Jorigamy website.
2 - Group of work
An organization allows you to have a group of collaborators enabled to edit data, unlike a simple repository.
3 - Quickest host
Beyond the potential of organizations hosting Jorigamy on Github will give you a very fast website.
4 - For Free
Even in this case you can use everything completely for free.
Pick your domain name
With the procedure described above you can create a website with the domain name yourusername.github.io. But there is a way to select your domain name and install Jorigamy.
Let me explain how to get your own custom subdomain, and then eventually convert it into a top-level domain (ie owning a domain such as, yourdomain.com)
👇
🔥How to pick up your personal domain🔥
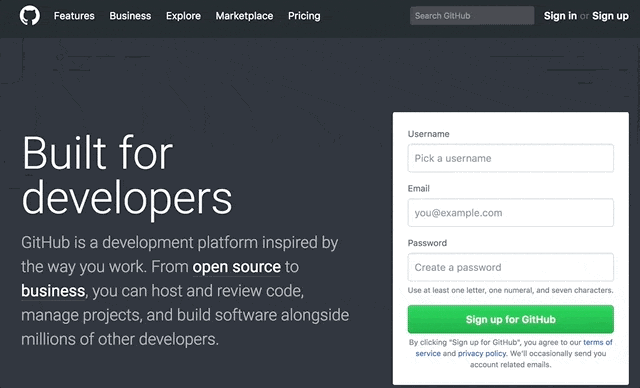
1 - Sign up to Github
Create your Github account, normally, register and confirm your credentials, or login with your account. Signup and start use jorigamy right now!
2 - Create an Organization
Now create a new organization, where you'll host your jorigamy site, using the 'plus' button at the top right. Continue reading to have more details.
3 - Pick up an organization name
To create an organization you will have to give it a name, not all the names are available, try until you get an ok message.
The name should reflect the domain name you will use for your website, so even if your ideal organization name has already been taken, try one of its declinations, example calendar - calendy - calendly etc..
Follow the steps until the creation of the organization is complete.
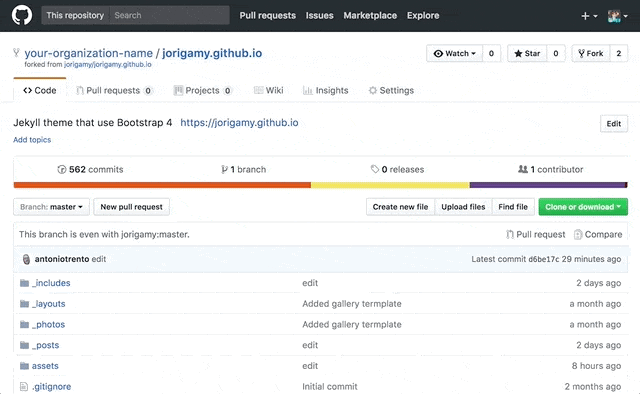
4 - Set up the Jorigamy repository
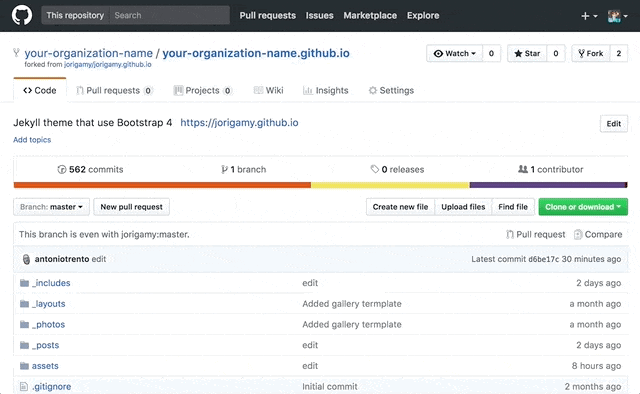
Now you will need to create the repository that will contain your website and will have your-organization-name.github.io as the default domain name (which you will be able to modify as you wish by purchasing a domain name).
To do this, simply press the fork button at the Jorigamy repository, a window will open, select your newly created organization; now from your home page click on your organization (bottom left) and then click on the repository jorigamy.github.io.
5 - Rename repository
It's time to rename your repository in your-organization-name.github.io.
The name should reflect the domain name you will use for your website, so even if your ideal organization name has already been taken, try one of its declinations, example calendar - calendy - calendly etc..
To change the name, go to the 'Settings' tab and immediately change the name your-organization-name.github.io
6 - Edit your _config.yml
By accessing your repository, you will find the file called _config.yml in the file list. it contains most of the settings that you can modify to customize your website. From the name of your site to accounts to monitor the site like google analytics.
Open the file, in the URL field enter the URL of your new website and then edit all the fields you want to configure your website, social accounts and everything else... For each configuration you will find the comment that explains how do on the _config.yml file.
🔥Start use Jorigamy🔥
Set up Github for desktop
You can communicate more effectively and faster with Github through it's desktop application. Start now to use it, download now!

Choose your favourite editor
There are many tools to interact with the code and Github, my favorites are: Visual Studio Code, Atom and Sublime text, They are all strictly free.

What next ♻️
Immediately after correctly installing Jorigamy you can do several things to improve it.